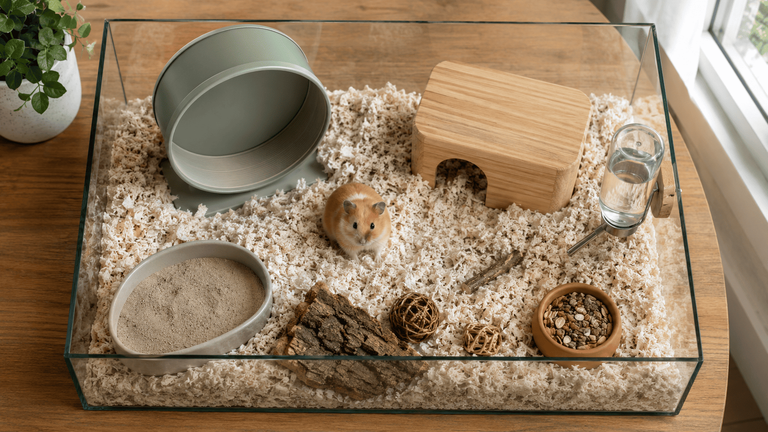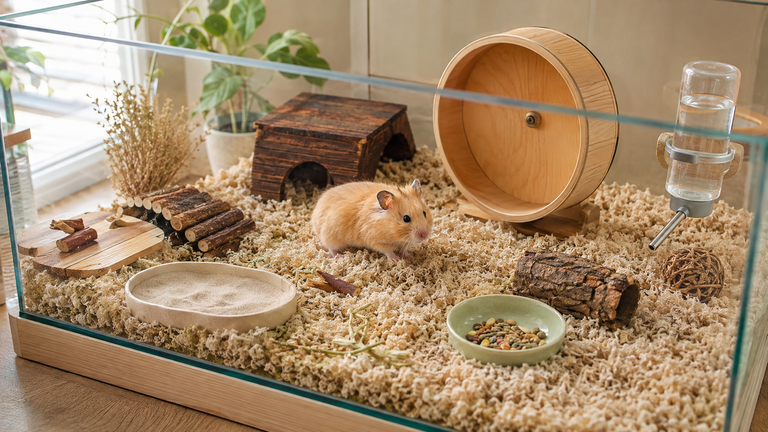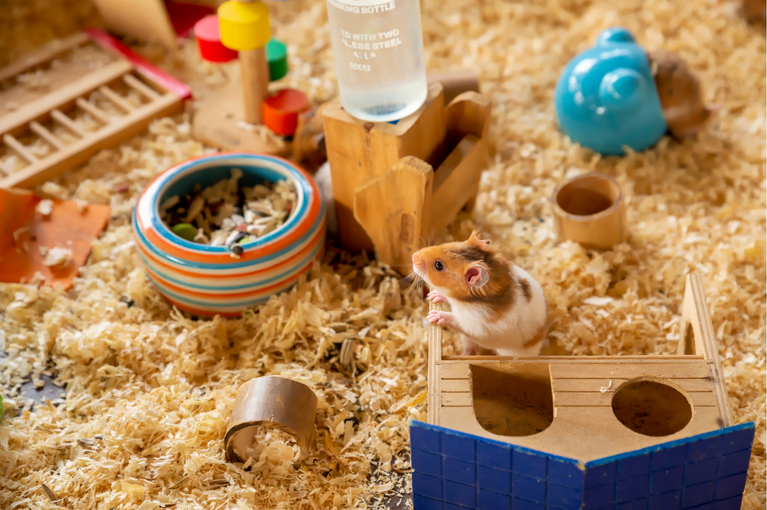
A large plastic storage bin can make a practical, budget-friendly hamster enclosure, but the number of liters or quarts on the label does not tell you whether it is big enough. The important measurements are the usable floor space at the narrowest part of the bin, the height available for deep bedding and a properly sized wheel, and whether you can add a large, secure mesh ventilation panel.
A useful welfare benchmark is around 100 × 50 cm (39.4 × 19.7 inches) of continuous floor space. Blue Cross and Woodgreen both currently recommend an enclosure of at least this size for hamsters.
That means the first step is not buying a “105-liter hamster bin.” It is bringing a tape measure.
Is a bin cage actually a good hamster enclosure?
It can be.
A well-chosen storage bin has several advantages:
- it can hold deep bedding
- solid sides prevent bedding from spilling everywhere
- large bins can be inexpensive compared with similarly sized pet enclosures
- the setup can be customized around your hamster
- plastic is relatively easy to clean
- a mesh lid can provide a large ventilation area
But not every storage bin makes a good hamster home.
Some bins look huge at the top but taper sharply toward a much smaller base. Others are too short to fit both deep bedding and an appropriate wheel. A thin bin may flex, crack while being modified, or give a determined chewer easy access to edges.
A bin cage is only a bargain if the finished enclosure still meets your hamster’s needs.
Do not choose a bin by liters or gallons
This is the biggest change I would make to most DIY bin cage advice.
A label such as 105 liters, 110 quarts, or 30 gallons measures volume, not usable floor space.
Two containers with the same volume can have completely different shapes.
One might be long and wide. Another might be tall and narrow.
For hamster housing, those are not equivalent.
Measure the inside bottom of the bin
Storage bins commonly taper inward toward the base, so the dimensions printed by the manufacturer may describe the widest external points near the lid.
Measure the usable interior length and width near the bottom.
As a practical benchmark, aim for at least:
100 cm × 50 cm
or approximately:
39.4 in × 19.7 in
That gives roughly 5,000 cm², or 775 in², of continuous floor area.
A bin with an interior base of 40 × 18 inches, for example, gives only 720 in². Despite sounding close, it falls below that benchmark.
Bigger is welcome, particularly if it gives you more room to combine deep bedding, a large wheel, hides, a sand bath, and enrichment without crowding everything together.
See our hamster cage size guide for a deeper look at enclosure dimensions.
Height matters too
Do not stop measuring after checking length and width.
Your finished cage needs enough vertical room for:
- deep bedding
- a suitable upright wheel
- hides and enrichment
- clearance below the lid
- a hamster that cannot simply climb onto the tallest object and reach the ventilation panel
Blue Cross recommends at least 20 cm of digging bedding. Woodgreen recommends at least six inches through most of the enclosure, with a deeper area of around 10 to 12 inches where a hamster can create larger burrows.
This can make some otherwise-large storage bins impractical.
If adding deep bedding leaves no room for the wheel to turn freely, choose a taller bin rather than sacrificing burrowing depth.
One useful layout is to keep a deep-bedding zone on one side and place the wheel and heavier items on a stable platform at the other end.
What you need
For a simple bin cage, you will usually need:
- a suitably large plastic storage bin with a secure lid
- rigid metal mesh with appropriately small openings
- strong zip ties or another secure mechanical fastener
- a drill with a suitable bit
- a marker
- a ruler or tape measure
- a cutting tool suitable for the plastic
- wire cutters
- sandpaper or a file
- protective gloves and eye protection
You do not need paint, decorative vinyl, complicated wooden frames, or a hot-glue-covered interior.
The simpler you keep the structural modification, the fewer things your hamster can chew or pull apart.
What mesh should you use?
The openings need to be small enough that your hamster cannot squeeze through.
Woodgreen recommends maximum bar spacing of around 1 cm for Syrian hamsters and says 7 mm is the safest option for dwarf and Roborovski hamsters.
That makes the original recommendation of half-inch hardware cloth questionable. Half an inch is about 12.7 mm, which is wider than those benchmarks.
A rigid mesh with openings around 6 mm or 1/4 inch is a simpler option if you want one size suitable for smaller hamsters as well.
Whatever mesh you choose, inspect it carefully.
Avoid:
- sharp exposed wire ends
- broken welds
- large or irregular openings
- rust
- loose sections that flex away from the lid
The mesh is part of the enclosure wall. Treat it like one.
Step 1: inspect the bin before cutting anything
Put the empty bin on a flat surface and check:
Does the lid lock or snap on securely?
A loose lid is an escape opportunity.
Is the plastic reasonably rigid?
Very thin plastic may crack while being cut or flex around the ventilation opening.
Is the base actually large enough?
Measure inside rather than trusting the product label.
Is it tall enough?
Think about bedding and wheel clearance now, not after you have spent an hour cutting the lid.
Are there internal ledges or handles the hamster could chew?
Look at the enclosure from hamster level.
If the bin fails one of these basic checks, return it and find another one before modifying it.
Step 2: plan the entire enclosure before cutting the lid
Temporarily place the major items inside the empty bin.
You do not need to finish the setup yet. You are checking whether everything physically works together.
Consider where you expect to place:
- the wheel
- deep bedding
- the sand bath
- heavy hides
- water
- platforms
Pay particular attention to the tallest object.
A wheel or hide should not create an easy staircase to chewable zip ties or a sharp mesh edge.
This planning step is easy to skip and annoying to fix later.
Step 3: mark a large ventilation opening
The lid needs meaningful ventilation, not just a handful of tiny drilled holes.
A DIY guide from Pasadena Humane uses a large mesh opening occupying most of the lid while leaving approximately a 1 to 2-inch plastic border around the edge for structural support.
That is a useful design principle.
Mark a large rectangle while leaving enough original lid around the perimeter to keep the lid rigid and provide somewhere to attach the mesh.
Do not cut through:
- locking tabs
- hinges
- structural clips
- areas needed to keep the lid attached securely
Before cutting, put the lid back on the bin once and make sure your marked opening is positioned where you expect.
Then remove it for cutting.
Step 4: cut the plastic carefully
Work on the removed lid, never while it is sitting on the enclosure.
Place it on a stable work surface and follow the safety instructions for whatever cutting tool you are using.
Some plastics crack more easily than others. Do not force a blade through brittle plastic if it is starting to split.
Once the center panel is removed, inspect the entire cut edge.
Use sandpaper or a file to smooth rough plastic.
Skip the lighter trick
The original article recommended running a lighter around sharp plastic edges.
I would remove that advice completely.
An open flame adds unnecessary burn and fire risk, can deform the lid unpredictably, and may leave a worse edge than you started with.
Mechanical smoothing with sandpaper or a file is slower but much easier to control.
Step 5: cut the mesh
Cut the mesh so it overlaps the ventilation opening on every side.
You need enough overlap for secure attachment to the remaining plastic frame.
Wear gloves while handling freshly cut wire. Cut mesh edges can be extremely sharp.
After cutting, check every side for wire points protruding beyond the mesh.
Do not assume you will “fix them later.”
Deal with sharp edges before attaching the panel.
Step 6: attach the mesh securely
Pasadena Humane’s DIY bin cage instructions use drilled holes and zip ties spaced around the lid to secure the mesh.
That is a straightforward approach because you can visually inspect every attachment point.
Where the lid design allows, I prefer positioning the mesh and trimmed fasteners so the hamster has as little access to cut wire and plastic hardware as possible.
After attaching it:
- Pull every zip tie tight.
- Trim the excess tails.
- Check the cut tails for sharp points.
- Push firmly against the mesh from several places.
- Check that no corner lifts.
- Put the lid back on the bin.
- Confirm every latch still works.
The mesh should feel like part of the lid rather than something resting on top of it.
Why I would not rely on hot glue
Hot glue is convenient for crafts, but I would not make it the main structural fastener holding a hamster cage lid together.
Adhesive can peel away from smooth plastic, and any exposed glue becomes another surface the hamster may investigate or chew.
Mechanical attachment makes it easier to see whether the panel is still secure.
Do you need side ventilation panels?
Not necessarily.
A large mesh lid is the simplest modification because it keeps ventilation above the bedding and avoids creating another chewable opening in the wall.
Adding side panels also complicates bedding depth. A ventilation hole positioned too low can result in bedding spilling out or put mesh directly beside areas the hamster can reach and chew.
For a first DIY bin cage, I would build one large, well-secured mesh lid before adding extra holes everywhere.
If the enclosure develops persistent condensation or poor air quality despite a substantial open mesh lid, investigate the room humidity, enclosure placement, wet bedding, and overall design rather than automatically drilling random holes into the sides.
Step 7: create a deep-bedding zone
Once the structure passes its safety checks, add suitable bedding.
A practical setup should give your hamster enough depth to create actual burrows rather than just scrape at the floor.
Blue Cross recommends at least 20 cm of digging bedding, while Woodgreen recommends a deeper section reaching roughly 25 to 30 cm.
You can create a slope so one part of the enclosure is particularly deep.
Suitable bedding choices may include combinations of paper bedding, aspen, hemp, and hay depending on the product and your hamster.
Avoid fluffy cotton-wool-style nesting products.
For more detail, see our hamster bedding depth guide.
Step 8: support heavy items from below
This is one of the most important setup details in a deep-bedding enclosure.
Do not simply place a heavy ceramic hide, large sand bath, or wheel stand on top of loose bedding.
Your hamster may tunnel underneath it.
Heavy items should sit on stable platforms or supports that transfer their weight toward the enclosure base rather than relying on the bedding to hold them up.
That way, digging underneath does not turn a ceramic hide into a collapsing roof.
You can then build bedding around the support.
Step 9: check the wheel
The wheel needs to:
- stand firmly
- rotate without hitting bedding or the wall
- have enough overhead clearance
- remain accessible
- not wobble when the hamster runs
Do not reduce bedding throughout the whole enclosure just because the bin is too short for the wheel.
If wheel height and appropriate bedding simply cannot coexist, the bin was the wrong shape.
That is why checking height before building matters.
Step 10: add the rest of the enclosure
Once bedding and heavy items are stable, add the normal essentials and enrichment your hamster needs.
Depending on your setup, that may include:
- multiple hides
- a sand bath
- drinking water
- cardboard tunnels
- chewable enrichment
- forage opportunities
- suitable nesting material
See our full hamster cage setup guide rather than trying to squeeze the entire housing guide into this DIY article.
A bin cage is only the container. What you put inside still determines how functional the enclosure is.
Do a safety inspection before your hamster moves in
Do not finish the build and immediately add the hamster.
Run your hands and eyes over the whole enclosure first.
Check the lid
Push upward from underneath.
Does anything lift?
Check every mesh edge
Can you touch exposed cut wire from inside the enclosure?
If you can, assume the hamster eventually can too.
Check climbing routes
Could the hamster stand on the wheel, a hide, or a tall pile of bedding and reach the lid fasteners?
Check heavy objects
Can anything tip if you push it sideways?
Could the hamster burrow underneath it?
Check openings
Are there gaps around handles, water-bottle holes, mesh edges, or lid corners?
Check the plastic
Did cutting create cracks that could expand?
Check the wheel
Can it rotate freely with the final amount of bedding installed?
Fix problems now.
An enclosure that is almost escape-proof is not escape-proof.
Common bin cage mistakes
| Mistake | Why it matters | Better approach |
|---|---|---|
| Buying by liters or gallons | Volume does not guarantee floor space | Measure the interior base |
| Measuring the top only | Tapered bins may have a much smaller floor | Measure near the bottom |
| Choosing a short bin | Deep bedding and the wheel may not fit together | Plan vertical clearance first |
| Using large mesh openings | Small hamsters may escape | Choose appropriately small mesh |
| Drilling only a few air holes | Creates far less open ventilation than a mesh lid | Install a large mesh lid panel |
| Leaving sharp wire exposed | Creates an injury hazard | Trim and inspect every mesh edge |
| Melting plastic with a lighter | Adds avoidable DIY risk | Sand or file the edge |
| Relying on hot glue structurally | Adhesive can separate and become chewable | Use secure mechanical fasteners |
| Putting heavy hides on bedding | Hamsters can burrow underneath | Support heavy items from the base |
| Sacrificing bedding to fit the wheel | Removes an important natural behavior | Choose a taller enclosure |
What if my hamster chews the plastic?
A few exploratory nibbles are different from persistent chewing that begins damaging the enclosure.
Check where the hamster is chewing.
An exposed cut edge, hole, ridge, or handle can give the hamster a convenient starting point even when the main wall is smooth.
If chewing is persistent:
- inspect the enclosure for accessible edges
- check whether the hamster has adequate space and enrichment
- confirm the wheel and bedding setup are appropriate
- look for obvious escape-focused chewing around modifications
Do not simply cover an actively chewed area with tape where the hamster can reach the adhesive.
If your hamster continues damaging the structural plastic, a glass tank or another enclosure made from less chewable material may be a better long-term choice.
A bin cage is not automatically the best enclosure for every individual hamster.
Is a clear bin bad for hamsters?
No.
The original version of this guide suggested that a fully transparent bin exposes hamsters to too much light. I would not keep that claim.
Blue Cross actually recommends tanks and aquariums as suitable hamster housing, and those are transparent.
What matters more is where you place the enclosure.
Keep it away from:
- direct sunlight
- strong heat sources
- draughts
- constant disturbance
Your hamster should also have deep bedding and enclosed hides where it can choose darkness and privacy.
Clear walls can be useful because they make burrows and changes in the enclosure easier for you to monitor.
How much does a DIY bin cage cost?
There is no useful universal price because bins, mesh, tools, and hardware vary widely by location.
Instead of promising that a bin cage will always cost a specific fraction of a commercial enclosure, compare the finished setup.
Before buying materials, price:
- the appropriately sized bin
- mesh
- fasteners
- cutting or drilling tools you do not already own
- stable platforms
- bedding
- wheel
- hides
- sand bath
- other essential equipment
If you already own the tools, the enclosure shell may be inexpensive.
If you need to buy everything from scratch, compare the final cost with a suitable ready-made enclosure before deciding DIY is automatically cheaper.
When I would not choose a bin cage
A bin cage may not be the best choice if:
- you cannot find a bin with enough usable floor space
- suitable bins in your area are too short
- you cannot safely cut and secure the lid
- the plastic cracks badly during modification
- your hamster persistently damages the plastic
- the finished enclosure cannot accommodate deep bedding and a suitable wheel at the same time
DIY should solve a housing problem, not create five new ones.
A suitable glass tank or well-designed large enclosure may be the easier option in those situations.
See our hamster cage type comparison if you are deciding between a bin, tank, or other setup.
The bottom line
A DIY bin cage can be an excellent budget hamster enclosure, but buy by measurements rather than liters.
Start with a bin whose interior base is around 100 × 50 cm or larger, with enough height for deep bedding and an appropriate wheel. Add a large, securely attached mesh ventilation panel to the lid, smooth every cut edge, support heavy items from the base, and inspect the finished enclosure for escape and injury risks before your hamster moves in.
The most important part of the project happens before you cut anything: measure the bin and plan the complete setup first.
A cheap storage bin that cannot fit adequate bedding, a wheel, and basic enrichment is not good value. A correctly sized bin that you can modify safely can be.
Keep reading: Best hamster cage types | Hamster cage size guide | Complete hamster cage setup | Hamster bedding depth